
Thursday, August 30, 2012
Free Grammar Program

Monday, June 25, 2012
Monarch Caterpillars and Butterflies
May 30, 2012 - I've been seeing the Monarch butterflies fluttering about for a week or two now so Lizzy took an up-close look at a milkweed plant and found several eggs. Thus starts our annual Monarch raising project. I noticed after a couple days that there was a hole in our milkweed leaf and a tiny caterpillar. The milkweed is a bit wilted now so we picked a fresh stalk of Milkweed this morning and were thrilled to find more eggs and LOTS of tiny caterpillars. We put the milkweed in a small vase with water inside a gallon jar with a net rubber banded over the top.
June 5, 2012 It's just under a week now and look how much our caterpillars have grown!
June 11, 2012 The milkweed has to be replaced almost daily now as the caterpillars devour the leaves. Three have hung in their J shape waiting to form chrysalises.


June 12, 2012 This morning the beautiful Chrysalises are formed. I didn't get to see them actually shed their skins this time but I've watched in the past as they split their skin from the bottom and wriggle and squirm until the skin moves all the way up to the top where they are connected to the leaf. There it is just a small black piece of refuse that usually falls to the ground unneeded. And what is left is a beautiful light green chrysalis. At first it is bigger on the bottom but it continues to squirm pushing itself into the final shape that you see here.


June 19, 2012 We've been adding a new stalk of milkweed pretty much every day and the refuse in the bottom of the jar had really mounted up making the whole thing a smelly unwholesome place to raise our beautiful caterpillars so we carefully pulled out the plants - some just skeletons of the original plant with chrysalises attached. We then pulled out our "vase" jar and wiped out the bottom of the gallon jar with paper towel being careful not to disturb the chrysalises that are attached to the top edge of the jar. We then placed the "vase" jar which we had cleaned and filled with fresh water in the gallon jar again. Then we carefully added our new milkweed. I have been trying to get milkweed without eggs or tiny caterpillars now so we can wrap this project up in a couple weeks, but I forgot to check before picking today and I see I got a couple eggs on today's milkweed so we'll be at this for a couple more weeks unless we decide to replace our last few caterpillars on milkweed growing outside. When we had everything back in place there were still two chrysalises that weren't attached to either foliage or the jar so we took a thread and threaded it up through our net cover and back down then I had Sarah hold a chrysalis in place while I tied the string in a knot around the tiny black "stem" at the top of the chrysalis that it usually hangs from. We carefully placed the net over the jar and banded it in place again. We'll have to be careful when we remove the net from the jar not to disturb them too much.
June 23, 2012 - This morning I awoke to four butterflies in our jar. Normally we see them turn dark first and you can actually see the veins on the wings through the clear case they are in, but we were gone for the day and missed the splitting of the case and the newly hatched butterfly with its fluid filled body and tiny crumpled wings. It takes some minutes for the butterfly to pump the fluid out through its wings and then awhile longer for it to dry. They will crawl onto your finger at this stage and we often hold them gently for a bit before placing them on a flower or until they take their first flight. Ruthie chose a flower in her garden to place "her" butterfly on and John chose the apple tree.


What a miracle of transformation these beautiful creatures are! Truly amazing! Cause for praise to our Awesome Creator!
 |
| Tiny creamy white eggs on the back of this milkweed leaf |
 |
| Note the tiny holes in the central leaf to the left, where tiny caterpillars ate them. |
 |
| Here the leaves are held back so you can see the tiny caterpillars |
 |
| Here the image is enlarged to give a closeup view - you can see the dark droppings scattered on the leaves |
 |
| The image enlarged even more - the caterpillars won't change in looks, just shedding skin and growing until they form a crysalis and then become a butterfly. I love the tiny yellow, white and black stripes! These are about 1/8" long. |
 |
| Our present set-up for raising Monarch caterpillars. Later we will probably use a styrofoam cup to hold the plants so there is more room at the top for foliage when the caterpillars are bigger and require more food. |
June 5, 2012 It's just under a week now and look how much our caterpillars have grown!
 |
| Our caterpillars have definitely grown! |
 |
| The caterpillars are eating and growing. You can see several different sizes here |


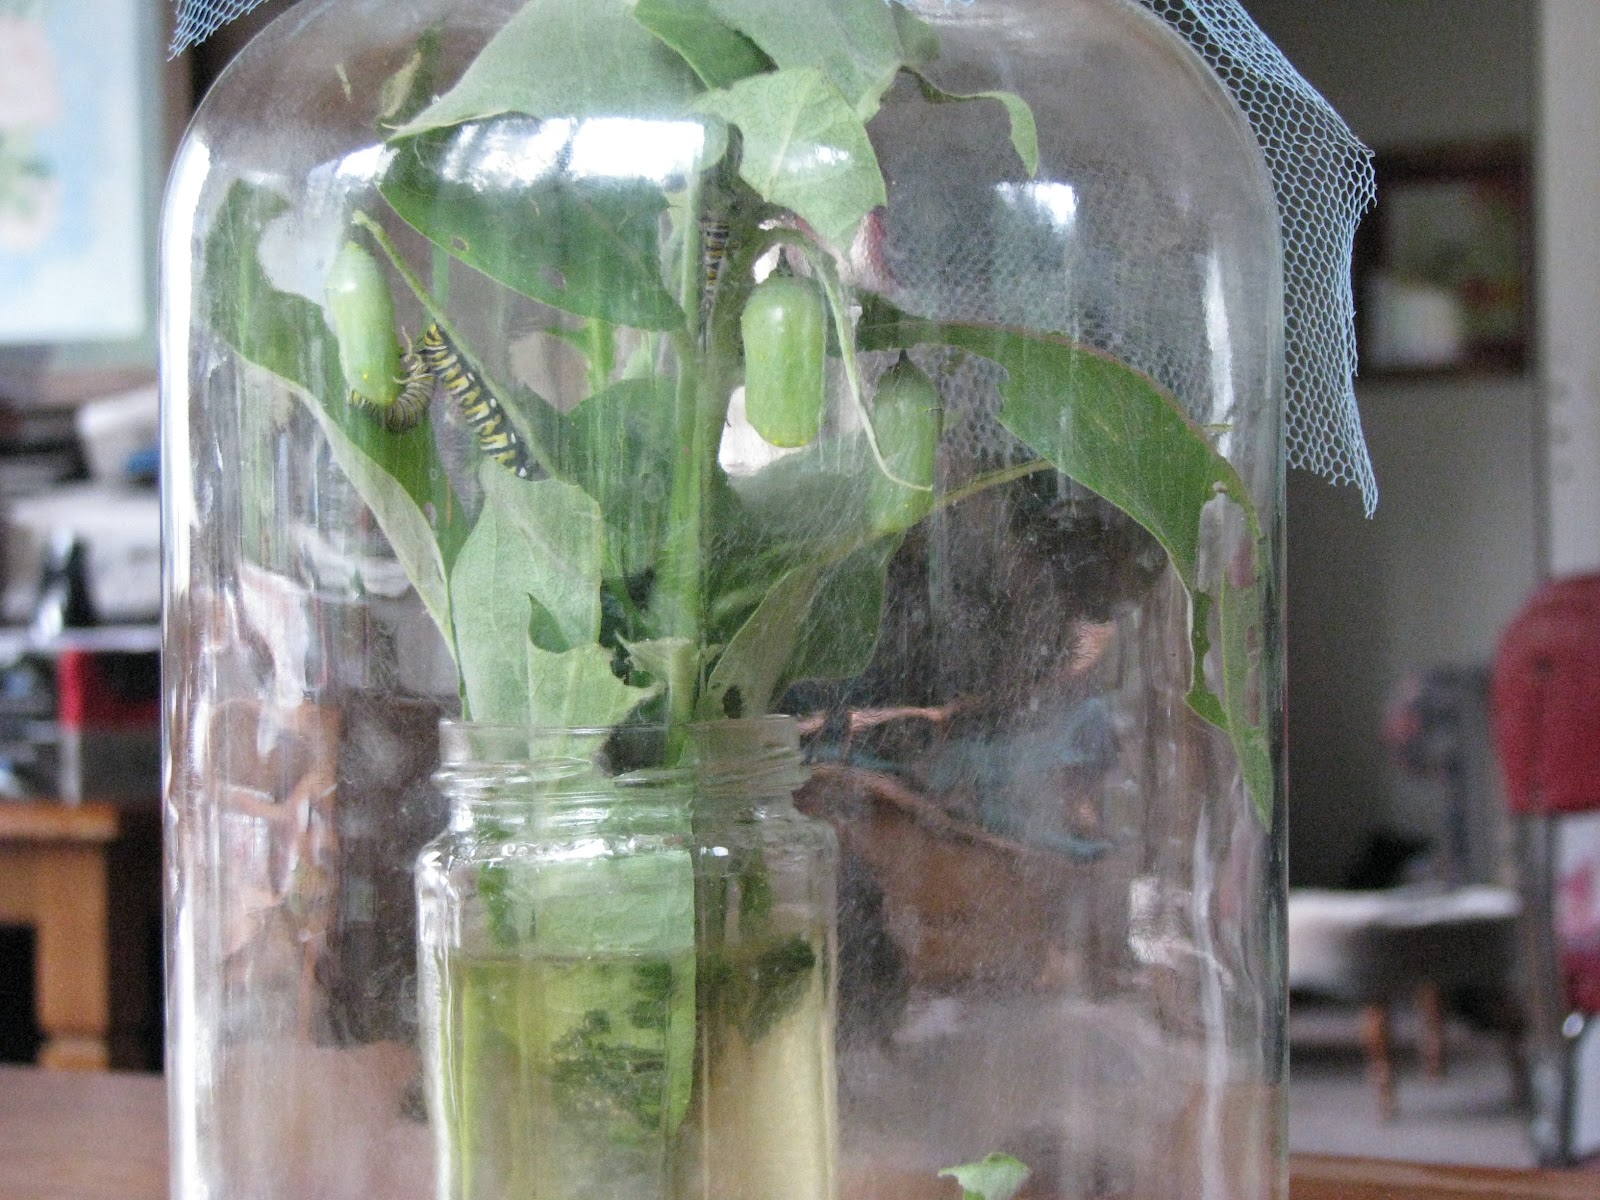

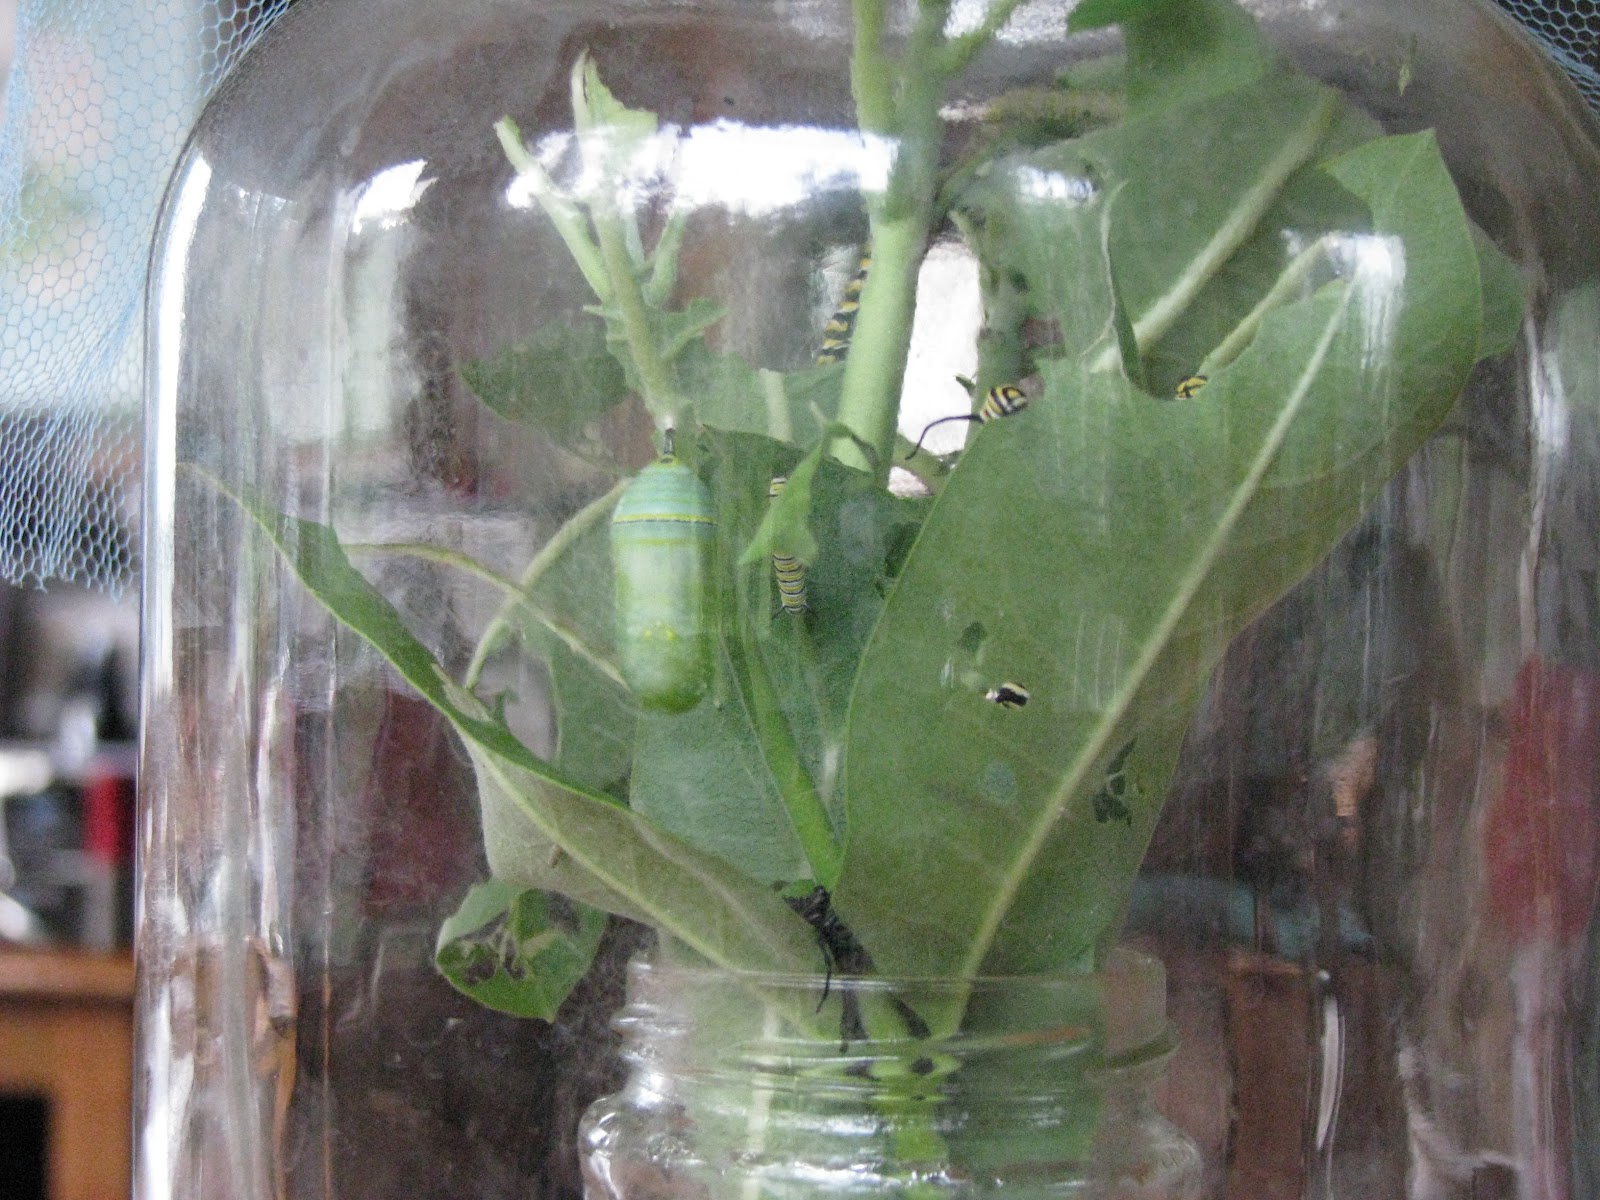
 |
| Notice the beautiful gold dot markings |


June 23, 2012 - This morning I awoke to four butterflies in our jar. Normally we see them turn dark first and you can actually see the veins on the wings through the clear case they are in, but we were gone for the day and missed the splitting of the case and the newly hatched butterfly with its fluid filled body and tiny crumpled wings. It takes some minutes for the butterfly to pump the fluid out through its wings and then awhile longer for it to dry. They will crawl onto your finger at this stage and we often hold them gently for a bit before placing them on a flower or until they take their first flight. Ruthie chose a flower in her garden to place "her" butterfly on and John chose the apple tree.


What a miracle of transformation these beautiful creatures are! Truly amazing! Cause for praise to our Awesome Creator!
Subscribe to:
Posts (Atom)